In less than a week, I’ll be starting my first backpacking trip to the West Coast Trail. I am planning to hike all 75km in 3 days, by myself. It’s an ambitious plan for me, and not one to be undertaken lightly. To give myself the best chance of success, I’ve been doing lots of prep and training to make myself “trail ready.” I’ll go over what that entails in this blog post.
Choose Your Own Adventure and the Gear that Goes with It
Any backpacking trip you go on has its own goals that comes with its own challenges. It’s important to ask yourself a couple of questions to decide what kind of experience you want to have on your trip?
Are you there to take it slow and spend more time soaking in the location? Or do want to move more quickly to cover more ground because you want to push yourself or make a certain time deadline? This is probably one of the most important questions to ask. If you’re taking it slow, you can get away with taking more things to make you more comfortable spending time in idyllic locations, whether that’s more comfortable seating, games, books, luxury food or drinks, fire-making supplies, etc. If you’re trying to move more quickly, you’ll probably want to cut back on luxuries and choose the lightest options you have in your gear box to help you move more quickly with less shock to your body.
Are you going alone or with a friend or group? Going alone means you have to carry everything so you’ll want to go through every item and ask if you really need it to get rid of anything unnecessary to keep your pack weight down. If you’re going with a friend or group you can be less picky and include more comfort items as you’ll have a number of shared items. If going with others, just make sure you go over your gear list together to choose the best options, who will be carrying it, and make sure nothing gets missed.
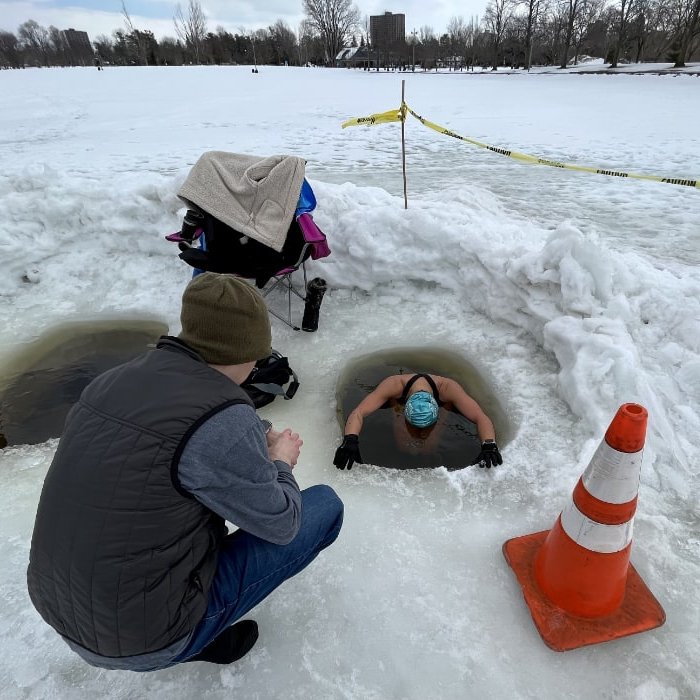
What items do you need to feel safe and supported? Safety is always an important priority on any backpacking trip. It’s important to do your homework ahead of time to know what risks and challenges come with any area you’re tackling. This includes local weather/temperatures, wildlife hazards, available campsite amenities (i.e. bear boxes/hangs, shelters, toilets/washrooms, nearby rangers/safety stations, cell reception, tides, etc.) That way you can make gear choices that will keep you safe, comfortable and mitigate any potential hazards or risks. It’s also important to decide what level of risk tolerance you (or your loved ones) have so you can bring the items that will lower your anxiety (or that of your loved ones) so you can focus on enjoying the experience.
How much and what kind of food do you need? Can you buy food or resupply on the trail? It’s important to have a rough idea of how many calories you need for your activity level, factoring how many hours you’ll be be travelling per day and the level of exertion that will be required, and whether or not you’re losing weight as part of your strategy so you can pack what you need to support your hike. If you’re fortunate enough to be able to re-supply or buy a meal somewhere on the trail, you might be able to shave off a bit of food weight. I'll be getting a some fresh seafood at the ferry crossing halfway through my hike of the WCT, so that will help me out a little.
What are the available water sources on the trail? How hot will it be? Are you hiking in the desert with minimal water sources or are there lots of creeks and streams on route? As a general rule, you should always have some sort of water treatment when backcountry camping, whether it’s a water filter, treatment drops or tablets, or a pot and extra fuel for boiling, as well as at least one extra redundant system in case your primary system fails. The question will be how much water will you need to carry with you to keep you hydrated before you make it to your next water source.
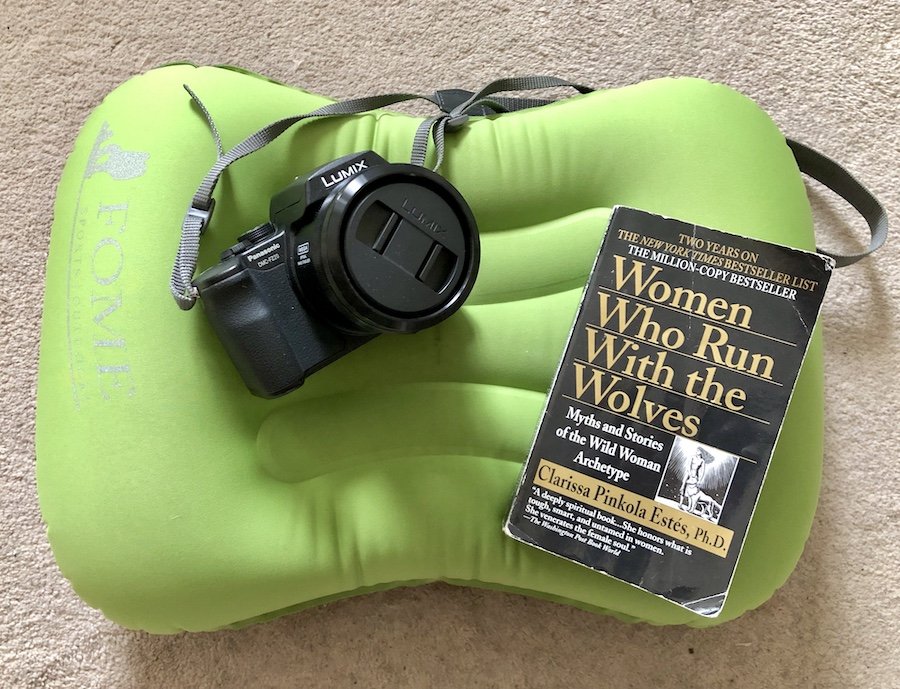
What “luxury” item(s) will help give you your best experience? Luxury items are things that you can get by without but will bring measure of comfort or joy to your experience that will make them worth the weight, whether it’s a high-end camera, a book, or a really comfortable camp pillow.

By answering these questions, you can prioritize what goes into your pack and make sure you pack all the essentials and still have what you need to also enjoy the experience and make your goals.
Gear Testing & Training for Your Backpacking Adventure
If you bought any new for your trip, it's a good idea to try it all out before taking it on a longer journey, to make sure you and/or your hiking partner(s) are comfortable setting it up and sleeping in it, and to make sure it's not missing anything.
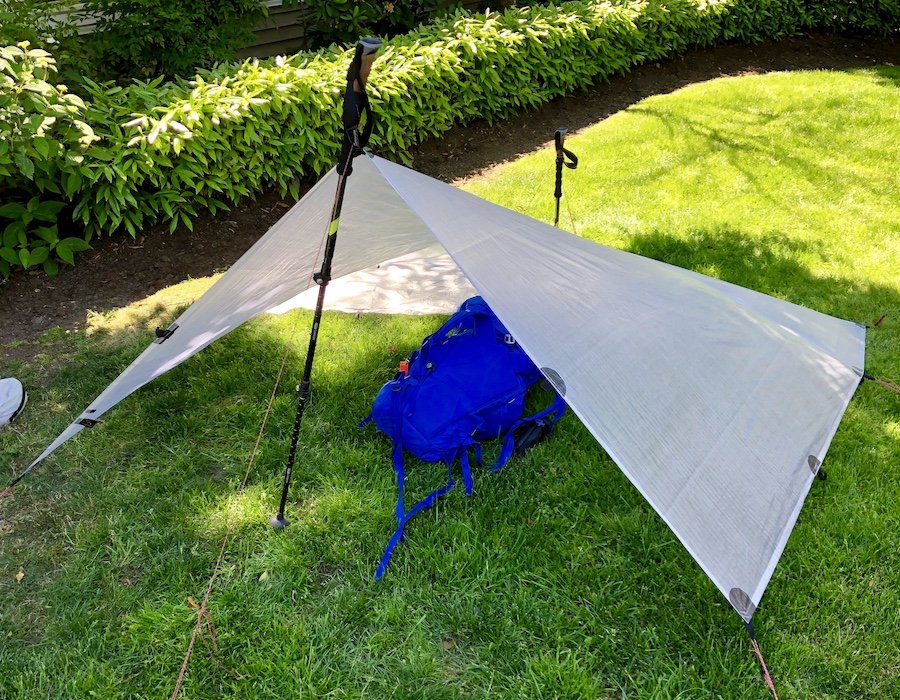
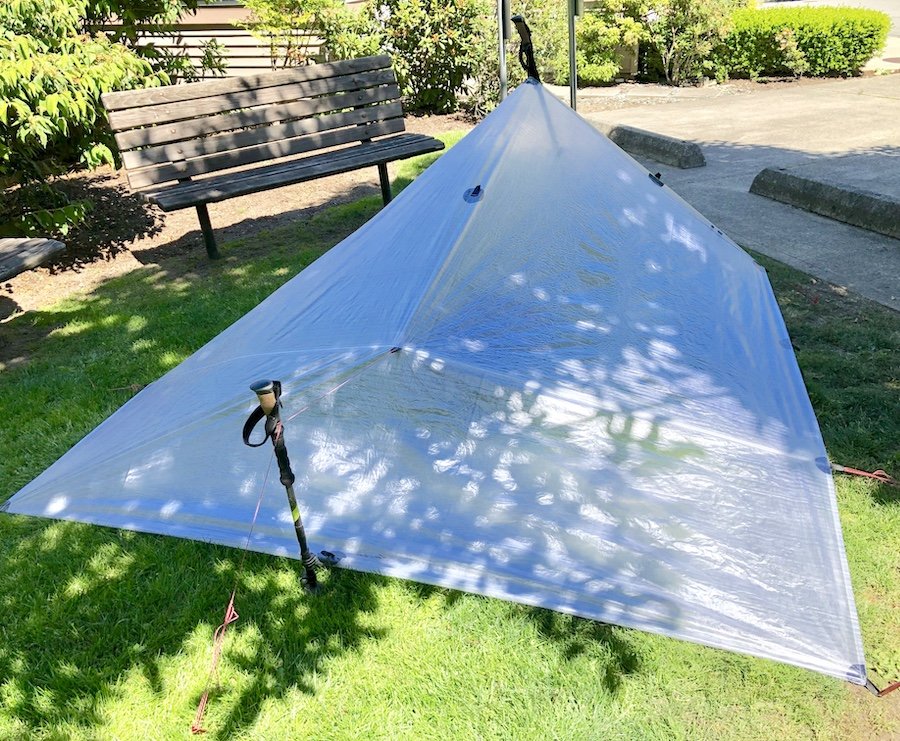
For my upcoming trip to the West Coast Trail, I bought a new tarp and bivy as part of my new ultralight backpacking set-up, but I had to figure out what configuration I would be using, what tie-outs and pegs would be required, and what knots I would need to use. There was a learning curve to doing all this efficiently, so I watched Andrew Skurka's knot-tying video and practiced my knots at home (below).
I also tried out a few different tarp configurations so I could pick the best one for my trip. I then practiced that set-up a few times to make sure I felt 100% comfortable setting it up on my own. Practicing it under low-stress conditions allowed me to figure out the challenges and come up with strategies for minimizing difficulty. For example, my dyneema tarp is super light, and if there's any wind at all, it blows all over the place. I figure out that as soon as I have it out of the bag, I have to peg out the back two corners so it stays in place. I also put my pack under it while I work on the rest so that it stays drier while I work. Rain and wind are always a possibility in the Pacific Northwest, even with the best forecast in the world, so I have to be ready for both. I have settled on doing a modified Holden tarp set-up for my trip, with the pack end folded under so that I'm using the second to rear loops as my back corners. I didn't need the full length of the tarp for just me and folding it under made it more stable and easier to set up, and also gave me a little area to keep gear off the ground too.
As for my sleep system, I had contemplated using only a hooded down coat, pants and socks as my sleep system inside my bivy, on top of my Thermarest Xtherm Neoair winter mattress, as a way of cutting weight. I was going to be taking my jacket anyway, so why not use it as part of my sleep system? I on one overnight backpacking trip on the South Baker Lake Trail, to test out all my gear in the field. While I was able to get through the night with that set-up, I just barely warm enough, but I definitely wasn't comfortable. The Borah bivy sack I'm using is so ultralight, it just doesn't feel like there is enough cushion wrapping my body for comfort, and if the weather because unseasonably cold, I definitely wouldn't have been warm enough. This was good to find out on an overnight trip with minimal consequences so that I can adjust my approach for the West Coast Trail. Incidentally, I forgot to bring my trekking poles for that trip and learned on the fly how to set up my tarp using a single stick (I was only able to find one that was long and strong enough to support it), but it taught me a valuable lesson: Don't forget your dang poles.
I also went on a number of test hikes with my new Blue Ice Warthog 45L backpack. The pack has a lot of adjustable features, so going on long hikes with my pack fully loaded, helped me dial in how I wanted to pack it and which features I wanted to use or ditch to cut weight. My hiking boots were already broken in, but I had also bought some new Iniji sock liners, so these hikes let me test them out for comfort. if you have new boots, it's absolutely vital to go out on a few longer hikes to make sure they're fully broken in before taking them on a multi-day hike. It also helps you figure out if you have any hot spots that might require extra lubrication (*I use Trail Toes lubricant for this.) or if you'll want to add duct tape or moleskin to an area as a preventative measure.

Preparing Your Body for the Trail
Every backpacking trip is different, and may require different strengths or skills. If going into the mountains, you might need to learn how to self-arrest with an ice axe. If going on a long thru-hike, you might need to do more endurance training to help your body handle the repetitive shock. Or you may have a niggling injury that you need to heal or learn self-care to help prevent it from worsening. Knowing what you're in for helps you to know what you need to do to be trail ready.
For my upcoming West Coast Trail trip, I am going to be hiking a lot of miles in a shorter period of time. As part of my training, I did a lot of long-form cardio to help with my body's efficiency. I would try to go on at least one longer hike per week, but that can be time consuming and not enough on its own for preparation, so I have been doing at least 2 hours of training on my elliptical running machine at home every day. I also worked in strength training every other day along with it.
Once I had my pack and its contents dialled in, I started doing it wearing my pack. As I got closer to my trip, I made my weekly hikes longer and longer, including one overnight trip. Yesterday, I did my longest one, 27.5km in 7 hours and 45 minutes, carrying my full pack weight. I basically did two hikes in North Vancouver's Lynn Valley area, one to Kennedy Falls and one to Norvan Falls. I am hoping to travel 26.5km on my first day, so this gave me a good idea of how my body handles that kind of shock. I am a little sore today admittedly, and I did sleep in a little, but I'm feeling pretty good, and feel like I could take on another day of it if I wanted. Instead, I'm letting my body recover well today and will stick to lower impact activities between now and when I leave so that my body will be in peak form when I start my hike on Tuesday.
I know that I occasionally get sore achilles tendons if I'm not careful, so I also did a bit of homework to figure out self-care to mitigate this. I have a daily practice of working on my range of motion with my ankles, as well as some stretches and exercises to strengthen them. I also use a vibrating massage ball to roll out my calves and work out any knots as they develop. Here is the main video I used as a guide for my ankle exercise routine: