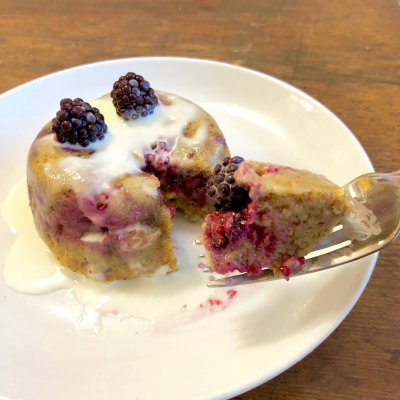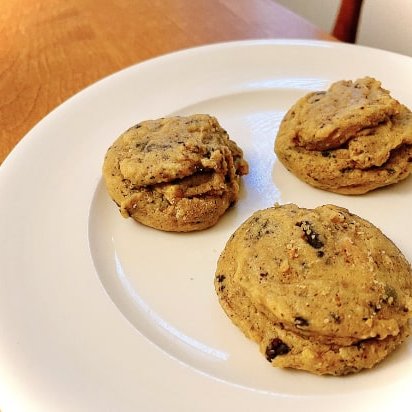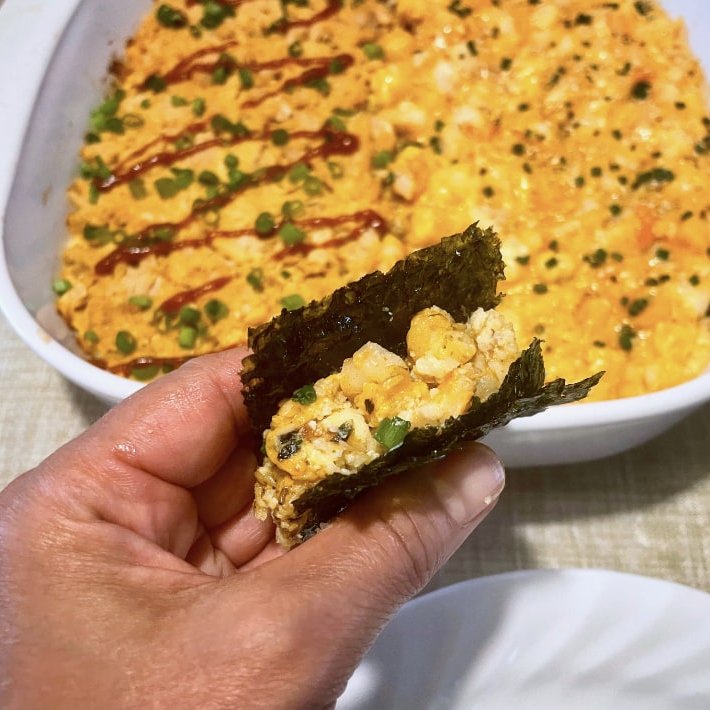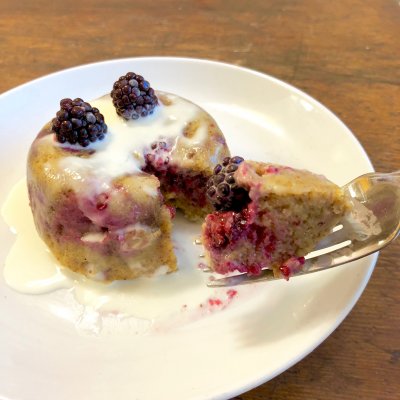
If they’re in season and you’re lucky enough to live in an area where they grow wild, trying picking them fresh and putting them right into one of these cakes. Check out my blog post with tips on picking blackberries.
Blackberry Spice Mug Cake Recipe
Ingredients:
- 2 tbsp almond flour
- 1 tbsp psyllium husk powder
- 2 tbsp erythritol
(ground to a powder in coffee/spice grinder)
- 1 large Egg
- 1.5 tbsp melted coconut oil
- 1.5 tbsp high fat yogurt homemade yogurt (or sour cream)
- ½ tsp ground cinnamon
- ¼ teaspoon ground ginger
- ⅛ tsp Himalayan pink sea salt
- ¼ tsp pure vanilla extract
- ¼ tsp baking powder
- 3 tablespoons fresh blackberries (if using frozen, add 25-30 seconds to cook time)
Directions:
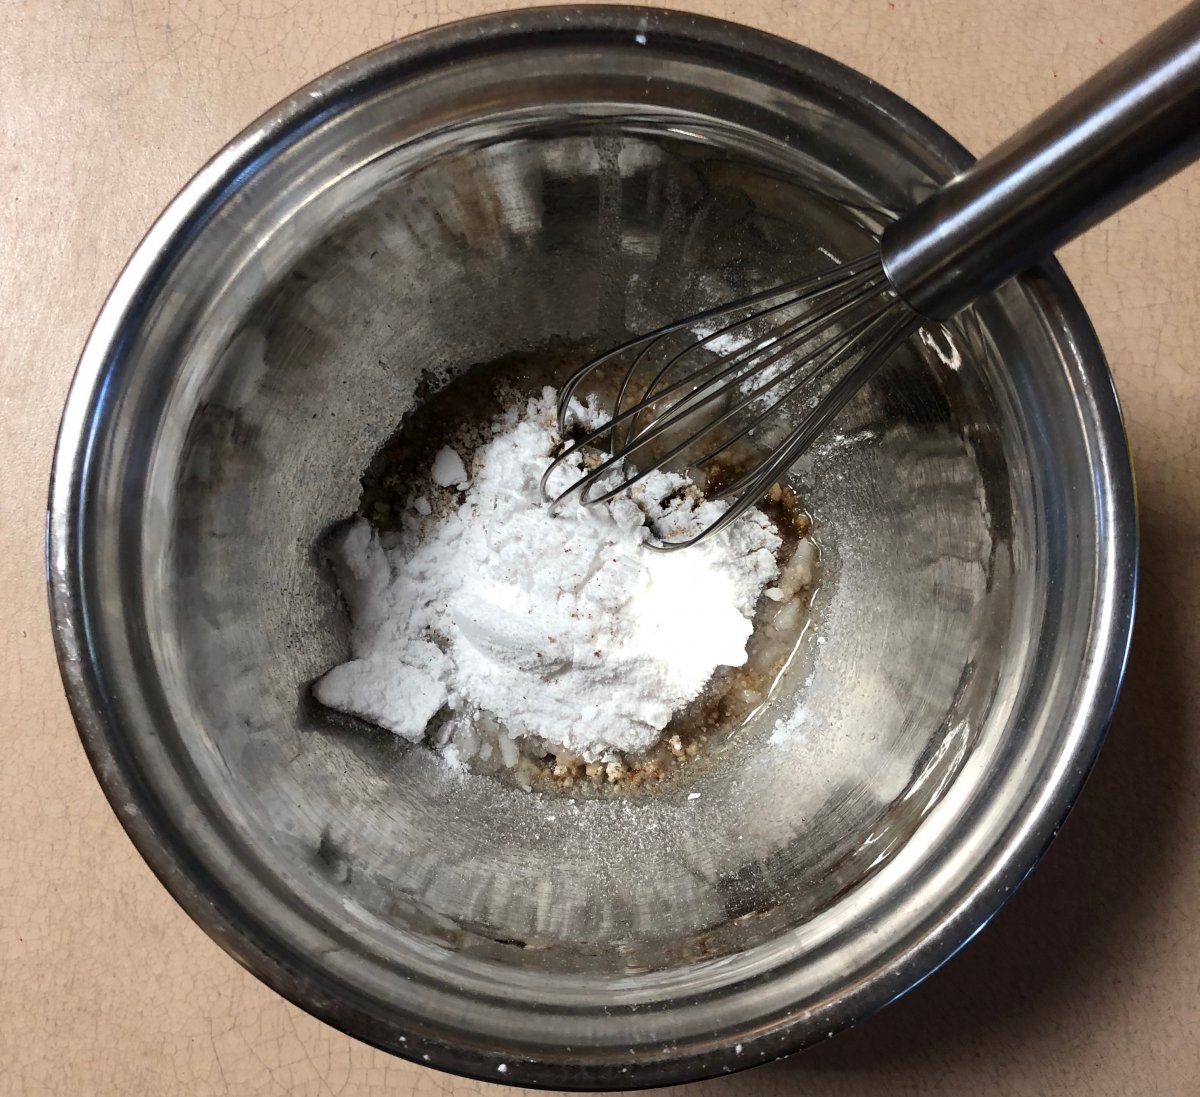
- Combine almond flour, psyllium husk powder, baking powder, salt, powdered erythritol, vanilla, melted coconut oil, and spices.
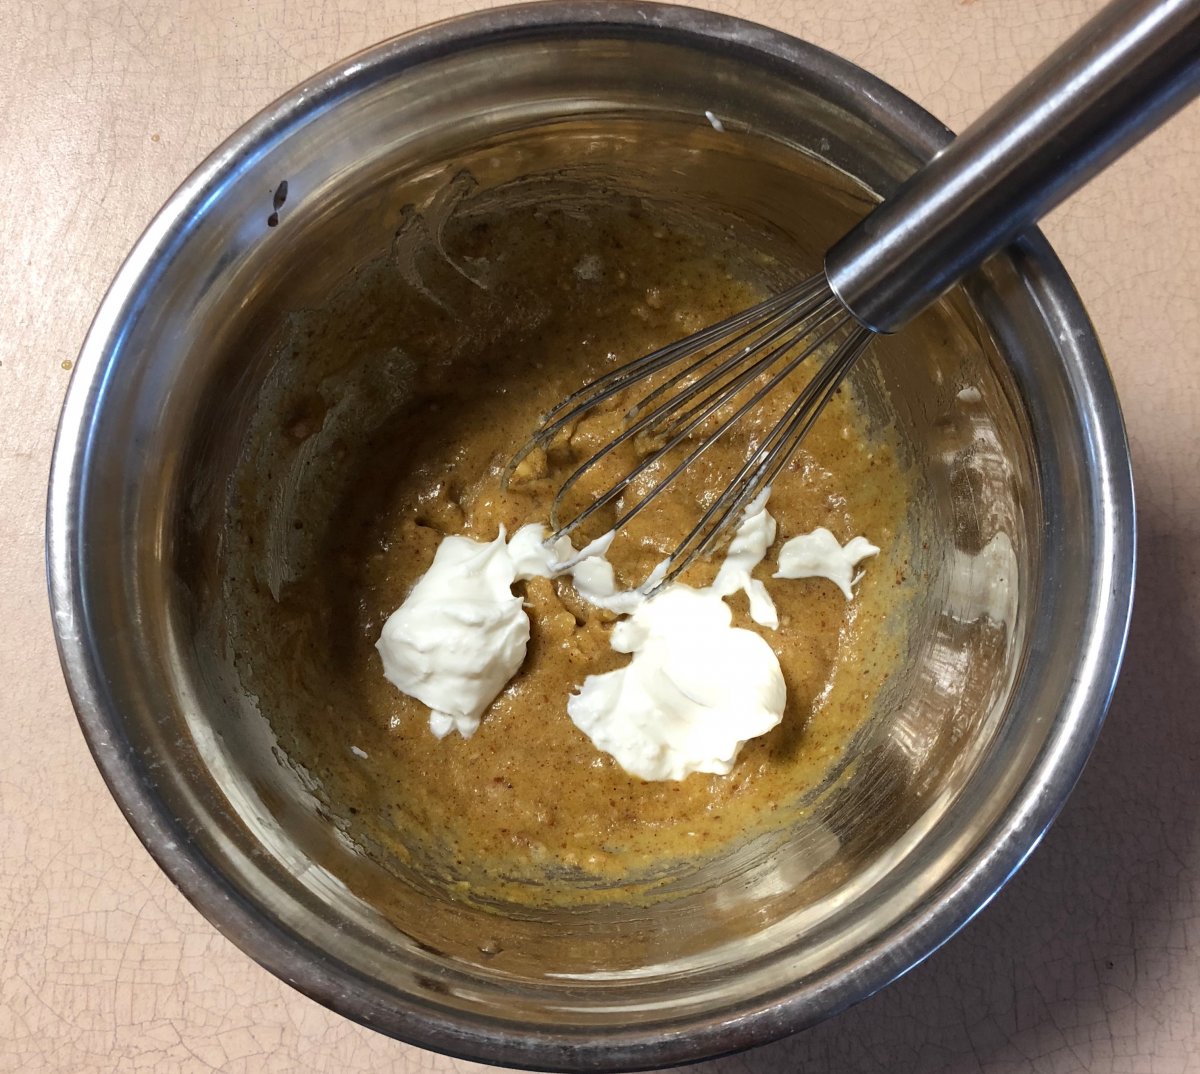
- Add egg and combine well. Add yogurt or sour cream and combine well.
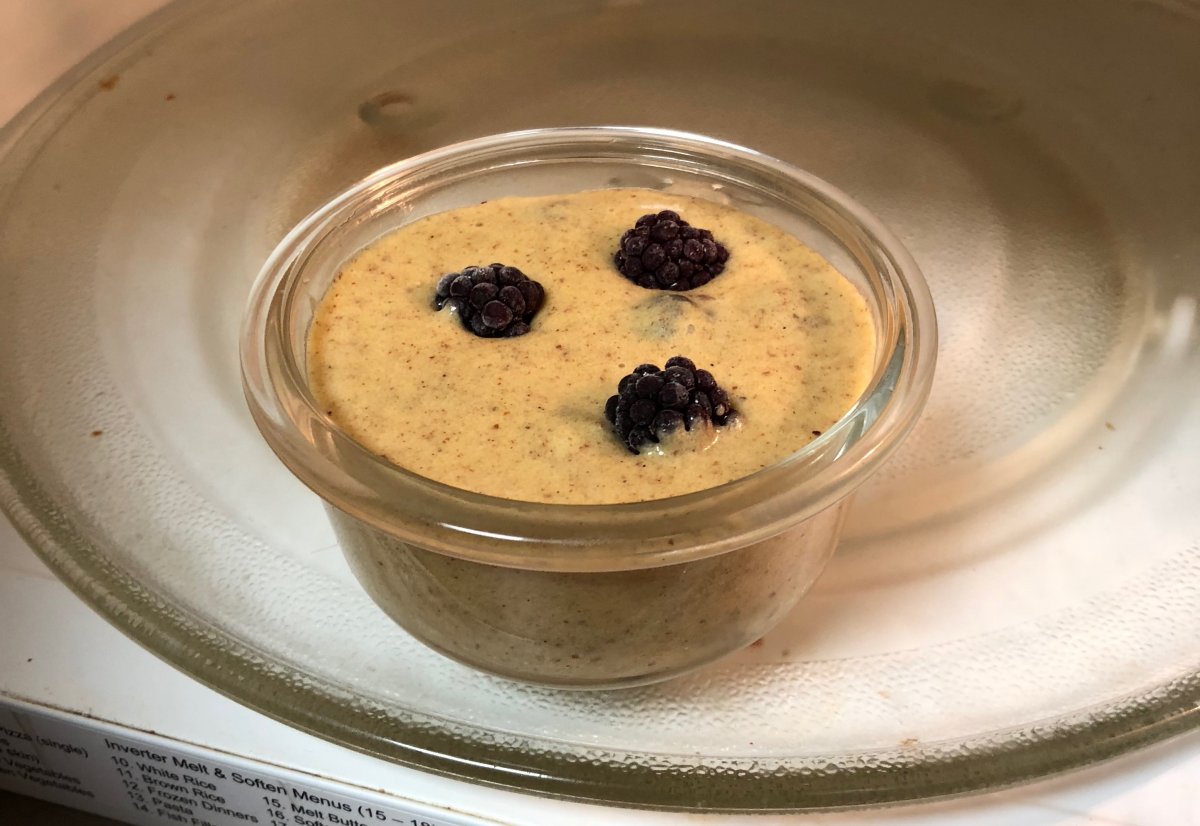
- Pour into mug or ramekin and microwave for 90 seconds. Keep an eye on it for when it rises too high. *Tip: If it rises high (over the rim) open the microwave door, let it deflate before finishing out the 90 seconds.
- Serve with a tablespoon of heavy cream (*I like I prefer whipped, but either is fine.)
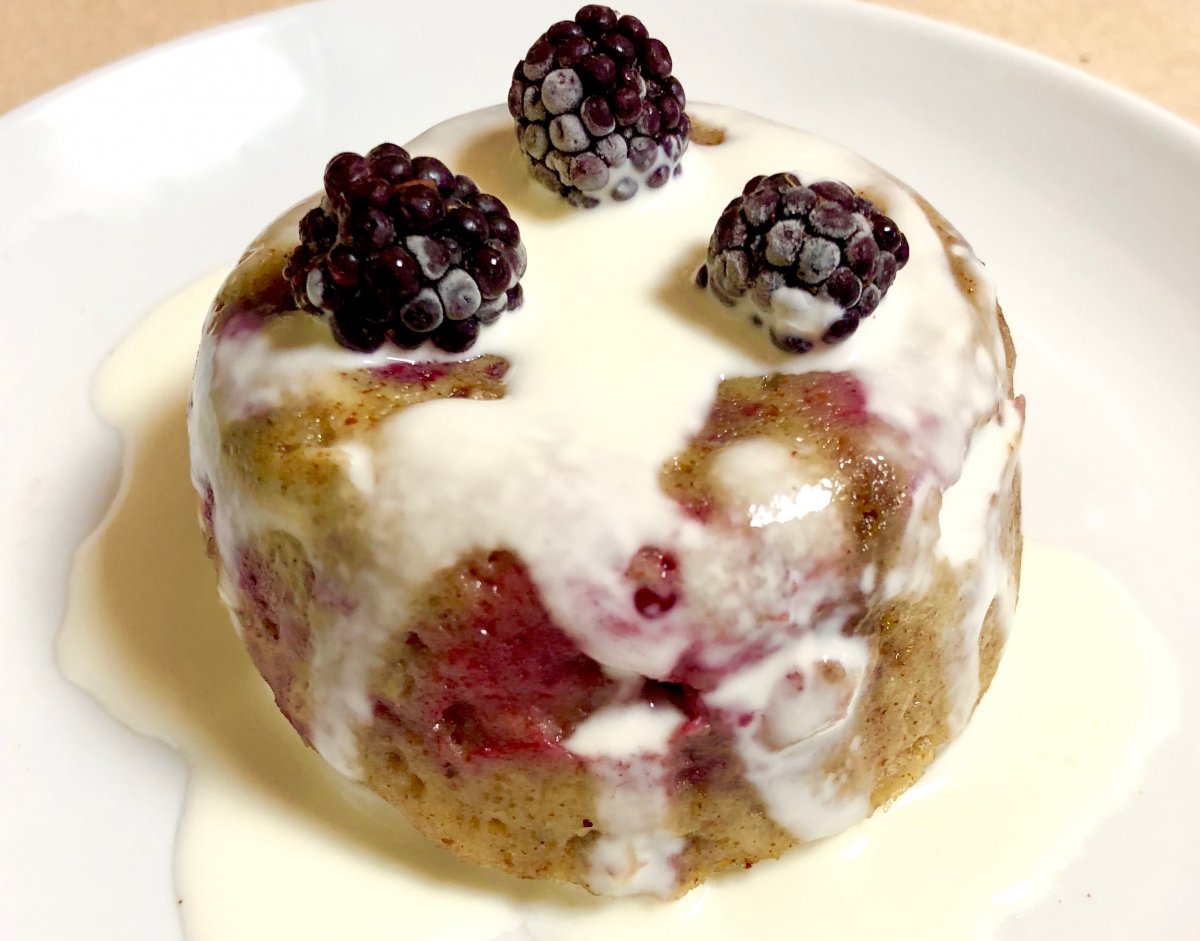
*Note: You may prefer to whisk all the ingredients together in the mug or ramekin itself to save on dishes. I just do it in a separate bowl when for presentation purposes.
I hope you enjoy this recipe! If you make it, let me know what you think in the comments and share your photos on Instagram and give me a tag so I can see how it went. Feel free to ask any questions you like in the comments as well. Happy baking!
